Microgreens aren’t just a modern trend, but they are a good way to get fresh vitamins and minerals right in your home, no matter what time of year it is or what the weather is like outside, because growing microgreens does not need much space, special skills, or expensive tools.
So even a person who has never done it before can do it, you can even use free plant ID apps for iPhone to make the process easier.

What Are Microgreens?
They are very young plants that you pick when their first real leaves appear, which is when they are just a few centimeters tall.
They are not the same as sprouts, which people eat right after they start to grow, or young greens, which already have a few pairs of leaves, and in microgreens, you can find the most nutrients that the plant keeps for its future growth.
Why Are They So Healthy?
Studies show that microgreens have 4 to 40 times more vitamins, antioxidants, and other good things than their big versions.
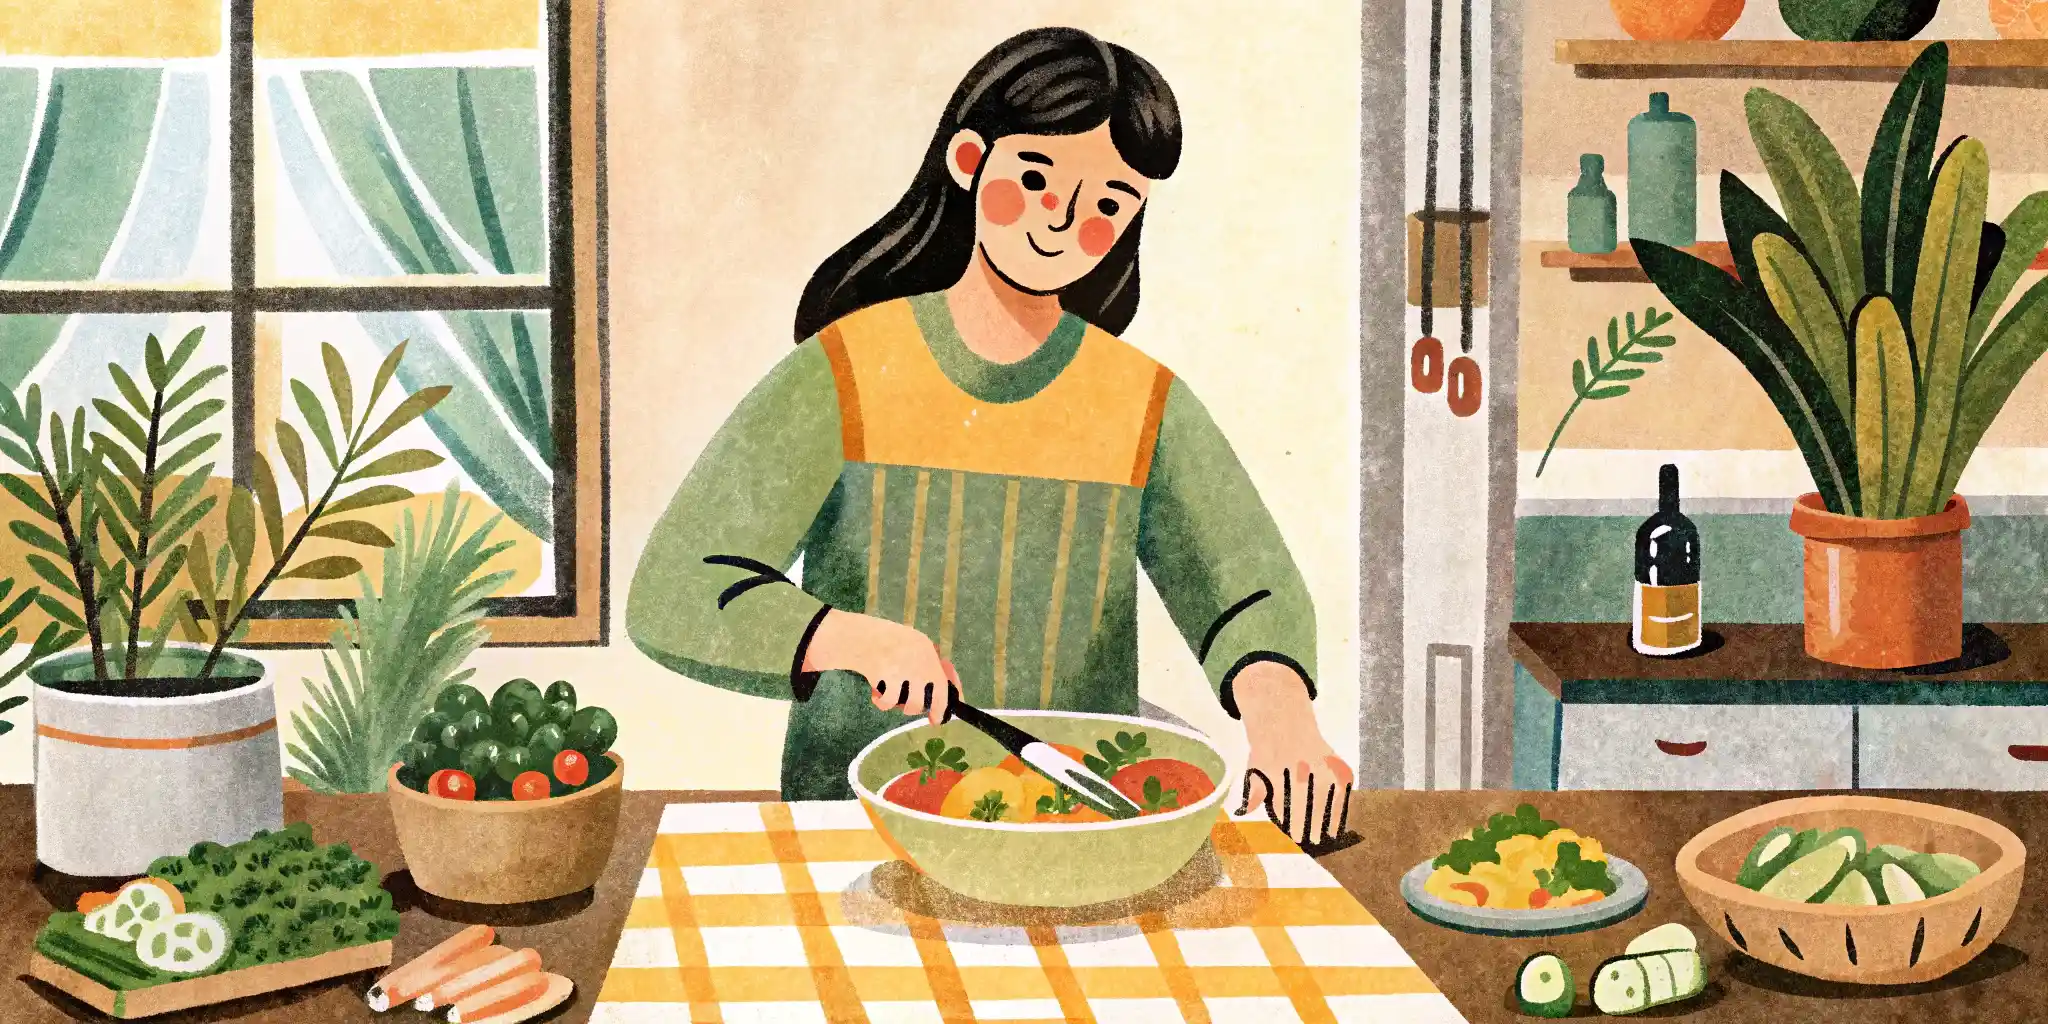
For example, broccoli microgreens have a lot of sulforaphane, which helps your body fight inflammation, and radish microgreens have a lot of B, C, E, and K vitamins, so eating microgreens helps to make your immune system stronger, helps with digestion, and makes you feel better overall.
They are a good addition to salads, sandwiches, and smoothies or can be used just to make any food look nice.
Choosing Seeds: What Seeds are Good for Microgreens
You can use the seeds of almost any plant that you can eat to grow microgreens.
However, to get a great result, it is important to choose good seeds that are made just for this, which you can buy in special stores for gardeners or on the internet.
The most popular types of microgreens for beginners are:
Radish: Radish microgreens have a slightly sharp, spicy taste, just like the big plant, and they grow very fast, so you can get your first harvest just 5-7 days after you plant them.
Broccoli: Broccoli microgreens have a soft, slightly sweet taste, and they are one of the best sources of good nutrients, so their sprouts will be ready to eat in 7-10 days.
Peas: Peas give you juicy, crunchy, and sweet sprouts that are a great addition to salads and sandwiches, and you can start to harvest them in 10-14 days.
Arugula: Arugula microgreens have a special sharp, nutty taste, and they grow quite fast and do not need a lot of care, so you can get the harvest in 7-10 days.
Mustard: Just like radishes, mustard has a very sharp taste that will add some spice to any food, and the sprouts are ready in 5-7 days.
Important: The seeds of tomatoes, peppers, eggplants, and other nightshade plants are not good for growing microgreens because their sprouts can be poisonous.
You should also not use seeds that have been treated with chemicals and are sold for normal planting in the ground.
Type of Microgreen | Main Vitamins | Important Minerals | Other Useful Things |
Radish | Vitamins A, B1, B2, C, E, K | Potassium, calcium, phosphorus, magnesium | Sulforaphane, anthocyanins |
Broccoli | Vitamins A, C, E, K | Potassium, calcium, iron | Sulforaphane, indole-3-carbinol |
Pea | Vitamins A, B, C, K | Iron, folic acid, zinc | Protein, fiber |
Arugula | Vitamins A, C, K | Calcium, potassium, magnesium | Glucosinolates, antioxidants |
Mustard | Vitamins A, B, C, E, K | Calcium, phosphorus, selenium | Glucosinolates, omega-3 and omega-6 acids |
The Growing Process: Preparing Containers, Soaking Seeds, Planting
Preparing the Containers
You will need a shallow container, such as a tray, a plastic box, or even a single-use food container, and it is important that it has no holes for water to drain because microgreens do not need them.
On the bottom of the container, you must put a 2-3 cm layer of a special material, and for this, you can use a coco coir mat, a rockwool cube, or special soil for sprouts, but the coco coir mat is the best choice because it is clean, light, and holds water well.
Soaking the Seeds
This step is not necessary, but it makes the seeds grow much faster, so you should put the seeds in clean water for a few hours, which is usually 4-8 hours, but for hard seeds like peas, it can be up to 12 hours, and after that, you must pour the water out.
Planting
You do not need to cover them with soil because they must get light and air, so you should press the seeds down slightly with your hand or a flat piece of wood to make sure they are touching the material well.
Creating a Greenhouse Effect
To help the seeds grow quickly, they need a lot of humidity, so you should cover the container with a clear lid or plastic wrap, and you can place the tray in a dark place, for example, in a closet, or cover it with another tray on top to create some pressure.
To make caring for your plants easier and more effective, you can use modern phone apps.
For example, apps like AI Plant Finder, PictureThis, or Planta can help you find out what a plant is from a picture, see if it has a disease, or even remind you when to water it.
Care: Lighting, Watering
After the seeds start to grow, they need light and water.
The first 2-3 days: You should keep the container in a dark place, which is called the "dark stage."
In this time, the roots grow, and the seeds get ready for active growth.
Lighting: As soon as you see the first sprouts, you should move the tray into the light. A good place is a bright window, or it is even better to use a grow light.
If there is not enough light, the microgreens will become long and look pale.
Watering: The main rule is not to water from the top so you do not harm the delicate sprouts and do not create a good place for mold to grow.
It is best to water from the bottom, so you should pour some water into the tray where the microgreens are and let the material take in the water.
After 15-20 minutes, you should pour out any water that is left.
Important: Do not let the material become too dry, because this is bad for the sprouts. But also, do not use too much water, because too much water can cause mold and other plant problems.
Harvesting and Storing: How to Cut and Store the Harvest
How to cut: You should use sharp scissors or a knife to cut the sprouts at the very bottom, just above the material.
You should not pull them out with the roots because the roots cannot be eaten, so you should cut only as much as you need for one meal.
How to store: If you need to store them, you can put them in a sealed container or a plastic bag with a paper towel at the bottom, and you should put the container in the refrigerator.
In this way, microgreens can be stored for 3-5 days, but they will slowly lose their freshness and some of their good qualities.
Important: You shouldn’t wash the microgreens before you store them, because this can make them spoil faster.